Narrative Photo People: Upload photos to your blog in the order of your story. ok, you are done! :)
_______________________________
PhotoJournalist Paper People: Finish your paper. Make sure you write down any websites that you used. Then, email your paper to ecrouch@access.k12.wv.us Make your name the SUBJECT! :) ok, you are done!
_______________________________
If you are done----- please take a few minutes and set up a
PhotoBucket account. You can upload all of your photos (if you have them...or get them from your blog) on that site. Try it out...its pretty nifty. Once you have your photos uploaded to that site, you can post them to blogger. Click on SHARE and then copy the html code and post it to your blog that way. :) There is also a way to post directly to blogger, but I've tried it a bunch of times and its only worked once.
Here is an example where I copied the html code and then pasted it into my Post. (Hint: you have to select the tab at the top of your post where it says Edit HTML..then paste the code. Then click on Compose again to see it.)
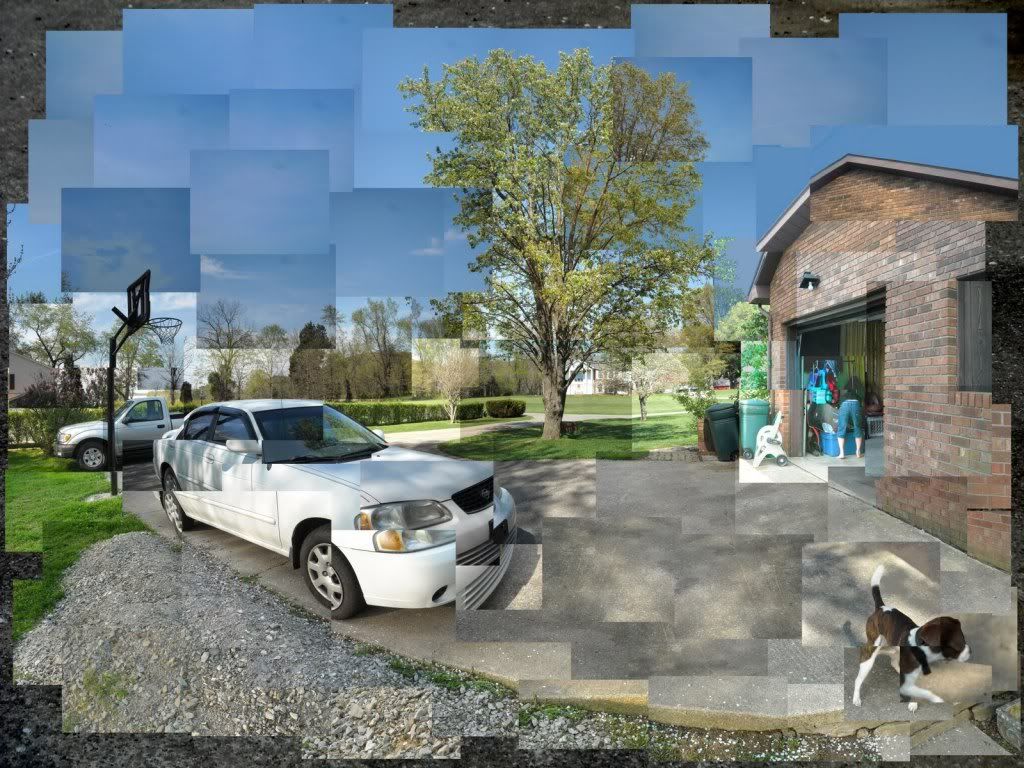
ta-da!! As you can see....it is HUGE! This is the Original size. You have to click on it to see the whole photo. BUT...you can resize it by clicking on it while you are typing your post. You can make it Small, Medium, Large, or X-Large.
See? Here I made it small.
Now its Medium!
This is Large.
Finally, this is X-Large. :)
____________________________________________
Today.....
- Make a PhotoBucket account.
- Upload photos from this class to your PhotoBucket account.
- Once you have uploaded some photos to PhotoBucket, make a post on your blog.
- Include a photo where you have copied the HTML code from Photobucket and pasted it into your new post window.
- Resize the image to be small, medium, large, x-large, and original. I don't care what order you go in.
You will get 60 points for this post. (10 pts for each resize, plus 10 points for creating a PhotoBucket account)

